Natural HDR: Blending Exposures Without Halos
Natural HDR for landscapes: how to bracket, merge in Lightroom without halos or oversaturation, and get a result that doesn't look like HDR.
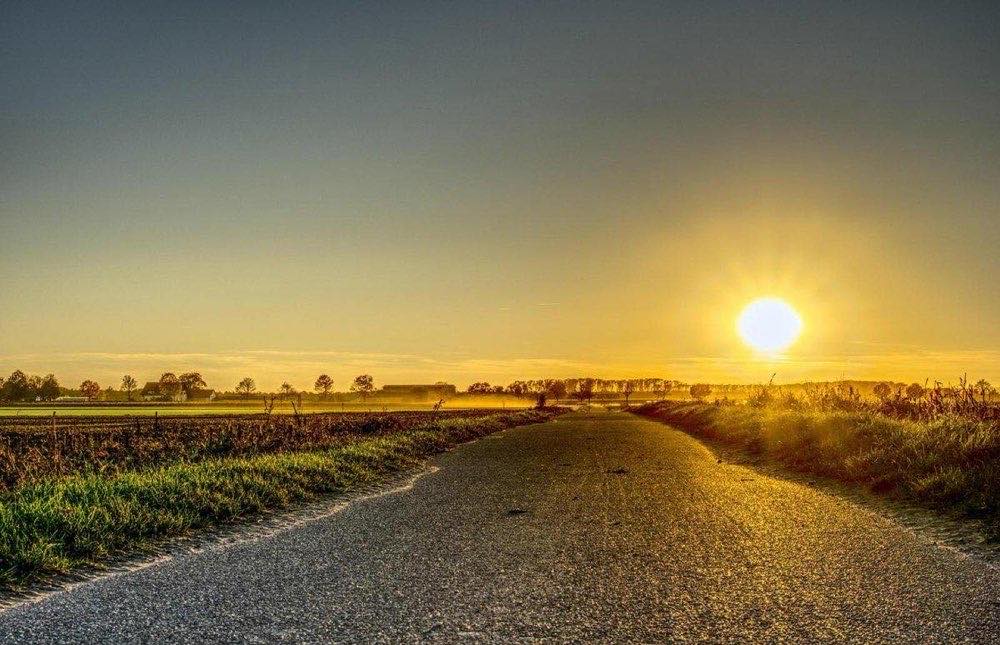
HDR has a bad reputation because of a trend from more than a decade ago: purple skies, halos around every branch and an illustrated look that nobody would mistake for a real photograph. But the problem was never the technique, it was the excess. A well-executed natural HDR is invisible: the viewer sees a landscape scene with a sunrise and deep shadows resolved in a believable way, without suspecting that it is three or five blended exposures.
The key lies in two decisions: bracketing correctly in the field and merging with moderation in editing. No merging tool "fixes" a badly done bracket, and no perfect bracket survives an edit with the sliders pushed to the maximum.
This guide covers both halves: clean capture and halo-free merging.
When you need HDR (and when a single RAW is enough)
Current sensors capture between 12 and 15 stops of dynamic range. That covers most landscape scenes with a single RAW shot, recovering shadows and protecting highlights in editing. You don't need HDR for:
Overcast or soft light, even if there are light and dark areas.
Moderate backlighting where the subject is not right against the sun.
You do need it when the range exceeds those 12-15 stops:
Direct sun inside the frame (sunrises, sunsets with the disc visible).
A dark interior with a very bright window (churches, caves, dense forests with sunlit clearings).
Very bright snow or beach next to deep rock shadows.
The guide to HDR techniques and exposure blending goes deeper into how to recognize these scenes before shooting, so you don't bracket out of habit when it isn't needed.
Correct bracketing: how many shots and with what step
Always use a tripod. Merging HDR from handheld shots is possible with automatic alignment, but it introduces artifacts in areas with movement (water, leaves). For quality HDR, use a tripod.
Automatic bracketing mode (AEB). Set the camera to shoot 3, 5 or 7 frames with a 1 or 2 EV step. Decision rule:
3 shots at ±2 EV: enough for most sunrises and sunsets with the sun in the frame.
5 shots at ±1 EV: they cover the same range (±2 EV) with smoother transitions between frames; useful with intense clouds or snow with rock shadow. For extreme contrast (interior/exterior), use 5 shots at ±1.5 EV, which cover ±3 EV.
Manual, no AEB: when you need exposures longer than 30 seconds, adjust each shot by hand.
Fixed settings between shots. Change only the shutter speed between exposures; aperture and ISO stay fixed so as not to alter depth of field or noise between layers. Typical starting setting: f/11, ISO 100, and the camera varies the shutter speed (for example 1/500 s, 1/125 s, 1/30 s for a ±2 EV bracket centered on 1/125 s).
Watch for movement between shots. Fast clouds, water, windblown leaves: the longer the full sequence takes, the more ghosts will appear in the merge. Shoot in burst mode to complete the 3-5 frames in 2-3 seconds.
Halo-free merging: the Lightroom workflow
Select the frames of the sequence (3, 5 or 7) in the Library module.
Right-click > Photo Merge > HDR.
Turn on Auto Align (corrects micro-movements of the tripod or the wind) and Deghost at "Medium" or "High" if elements moved between shots.
The result is a high-dynamic-range DNG that is edited like a normal RAW, with far more margin in shadows and highlights.
Edit with moderation: raise shadows and lower highlights gently (not to the maximum), and avoid aggressive use of clarity and texture, which is what generates those halos around silhouettes against the sky.
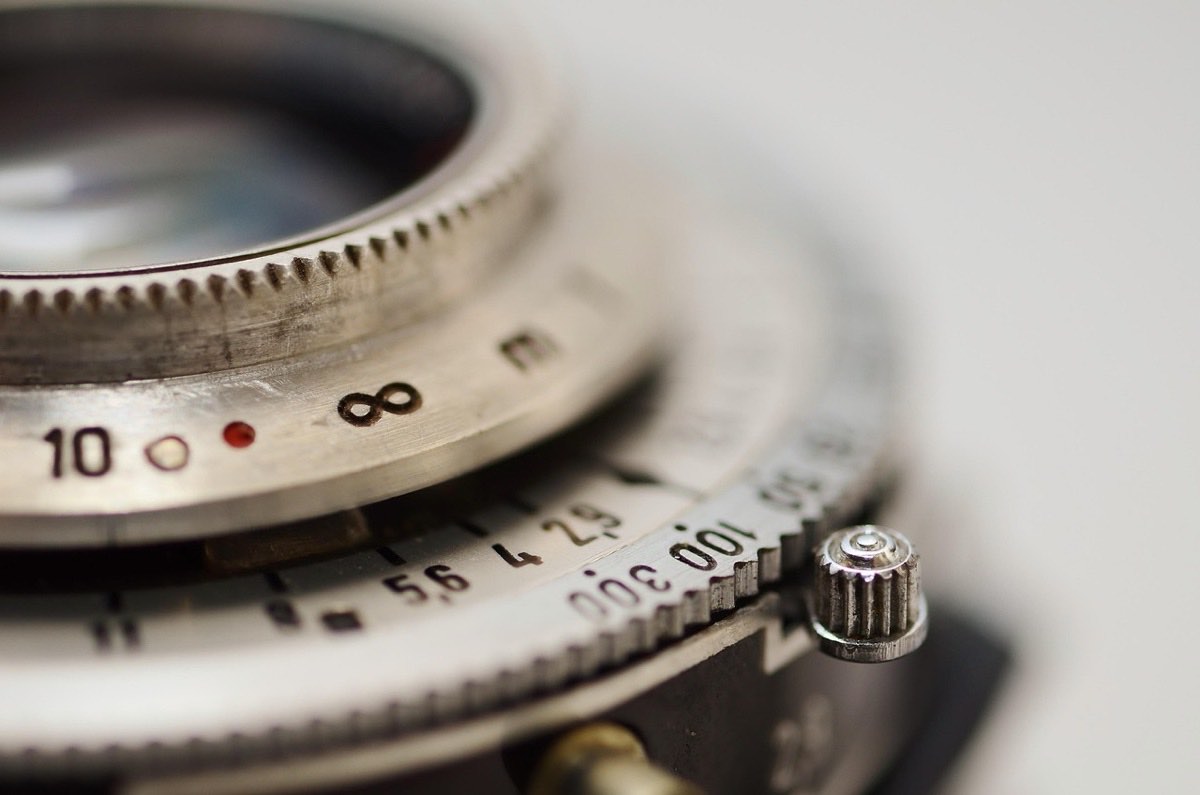
Why halos appear: they are an artifact of aggressive local tone mapping, which darkens the light edge and lightens the dark edge of an outline to "compress" the contrast. The only real defense is moderation: if your image needs halos to look "impactful," the HDR has become the subject of the photo instead of an invisible tool.
What bracketing settings suit each scene?
Scene: Sunrise with the sun in the frame; Shots: 3; EV step: ±2 EV; Starting settings: f/11, ISO 100
Scene: Sunset with intense clouds; Shots: 5; EV step: ±1 EV; Starting settings: f/11, ISO 100
Scene: Interior with a bright window; Shots: 5; EV step: ±1.5 EV; Starting settings: f/8, ISO 200
Scene: Snow with rock shadow; Shots: 3; EV step: ±1.5 EV; Starting settings: f/11, ISO 100
Scene: Forest with sunlit clearings; Shots: 5; EV step: ±1 EV; Starting settings: f/8, ISO 400
Scene: Coast with low sun over water; Shots: 3; EV step: ±2 EV; Starting settings: f/11, ISO 100
Avoiding the "2012 HDR" look
Four rules so the merge goes unnoticed:
A single, gentle tone-mapping pass, never two aggressive rounds. If you need more margin, it is better to add an extra shot to the bracket than to force the edit.
Normal global contrast: badly done HDR flattens the overall contrast while exaggerating the local contrast. After merging, raise the global contrast slightly to restore depth.
Saturate with moderation: the default vibrance in these workflows tends to oversaturate skies. Lower the blue/cyan channel saturation by 5-10 points if the sky looks "aquarium-like."
Compare with what you saw: the final question is simple: does this look like what you remember seeing with your own eyes, or does it look like an illustration? If it is the latter, back off the sliders.
For moderate-contrast scenes that don't require a full bracket, fine exposure adjustment is covered in the practical guide to exposure compensation, and the general handling of extreme contrast in dynamic range control in complex landscapes.
Frequently asked questions
Can I make an HDR from a single RAW photo?
With modern sensors and moderate contrast, yes: by recovering shadows and protecting highlights in editing you get a nearly identical result without bracketing. Real bracketing is only necessary when the range exceeds the sensor.
Why does my merge have duplicated ghosts?
Something moved between shots (a branch, a wave, a person) and the software couldn't decide which version to use. Turn on "Deghost" at the high setting, or reduce the number of shots and the total time of the sequence.
Can HDR and focus stacking be combined?
Yes, for scenes with a close foreground and extreme contrast: first solve focus with several shots at the same exposure, and separately, dynamic range with bracketing. Merge in two separate steps.
Do I need a specialized program like Aurora HDR?
It is not mandatory: Lightroom and Photoshop handle 90% of landscape cases well with moderation. Specialized programs give more local tone-mapping control, useful only if you are after stronger effects.
A rescue technique, not a filter
Natural HDR is a rescue technique, not an aesthetic filter: bracket only when the scene's range demands it, shoot fast to minimize ghosts and merge with a gentle hand. The best compliment for an HDR photo is that nobody knows it is one.
The next time the sun enters your sunrise frame, shoot the three-shot sequence before deciding whether you need it: it is cheaper to have it and not use it than to need it and not have it. At Enfogram you will find the 44 photography cards with the exact settings for every situation: print them, carry them with you and shoot with confidence.