How High Can You Push ISO? Limits by Camera
High ISO noise: how far to raise ISO for your camera type and scene, how to find your real limit and why underexposing creates more noise than ISO.
The high ISO noise question haunts every photographer from their first indoor session: how far can I raise the ISO before the photo is ruined? The short answer: quite a bit higher than you think. The useful answer: it depends on your sensor, on the scene and (this surprises many) on whether you exposed correctly.
Because the great misunderstanding about ISO is believing it "creates" the noise. Noise is born mainly from a lack of light; ISO makes it visible by amplifying the signal. A well-exposed photo at ISO 6400 usually looks cleaner than one at ISO 1600 underexposed two stops and lifted in editing.
How high can I push ISO with my sensor?
These ranges reflect the typical behavior of cameras from recent years, for high-quality results (printing and client delivery) and acceptable quality (web, documentation, keepsake):
Modern full frame: high quality up to ISO 6400; acceptable up to 12800-25600.
Modern APS-C: high quality up to ISO 3200; acceptable up to 6400-12800.
Micro Four Thirds: high quality up to ISO 1600-3200; acceptable up to 6400.
1-inch sensor compacts: high quality up to ISO 800-1600; acceptable up to 3200.
Phones: multi-frame processing redefines the rules, but the optical baseline roughly equals ISO 400-800 on a camera.
The physical reason is photosite size: larger sensors collect more light per pixel and generate a cleaner signal. That's why the same ISO number looks different on each camera and there is no universal limit.
The complete approach to deciding ISO in each scene, including the Auto ISO strategy with limits, is in the smart ISO guide.
Find YOUR real limit in 10 minutes
Generic ranges give direction, but your limit is your own. Do this test just once:
An indoor scene with dim light, camera on a tripod, something with shadows and textures.
Shoot the same photo correctly exposed at ISO 800, 1600, 3200, 6400, 12800 and 25600 (compensating with shutter speed).
Process the RAWs with your usual noise reduction and look at them at the size you actually use your photos (full screen, not 100%).
Write down two numbers: the last ISO that looks flawless and the last one you would accept delivering.
Those two numbers are worth more than any table on the internet, and they will take away your fear for good: almost everyone discovers their real limit is one or two stops above where they were limiting themselves.
Why does the same ISO look worse in some photos than in others?
The same ISO 6400 is invisible in some photos and offensive in others:
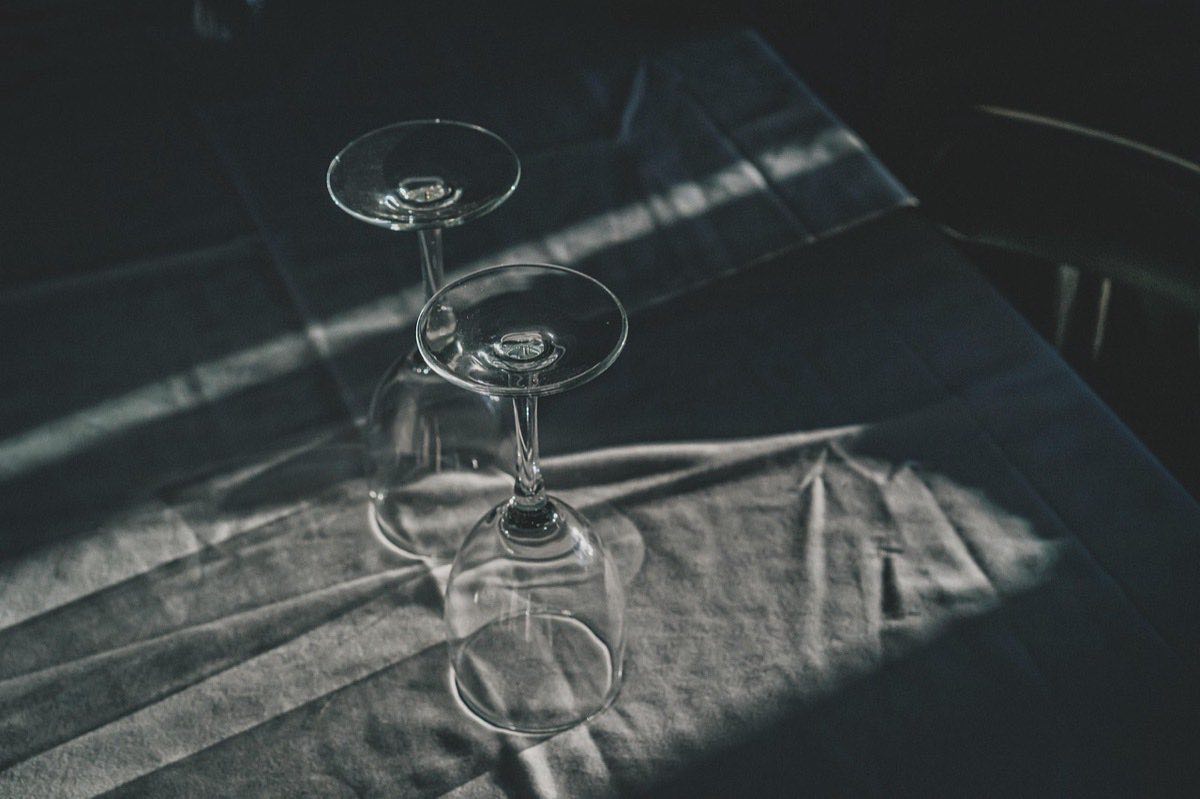
Noise lives in the shadows: dark, flat scenes show it; scenes with light and color hide it.
The destination rules: for Instagram (1080 px), ISO 12800 goes unnoticed; for a 60 cm print, it doesn't.
Black and white forgives: monochrome grain even has charm; color noise has none.
The subject matters: at a concert or an unrepeatable moment, noise is the price of the photo. Nobody remembers the grain in a great image; everyone forgets a blurry, clean photo.
What maximum ISO do I use in each scene?
Scene: Indoor portrait with a window; Full frame: 1600; APS-C: 800; Priority: Clean skin
Scene: Indoor social event; Full frame: 6400; APS-C: 3200; Priority: Moment over cleanliness
Scene: Concert with stage lights; Full frame: 6400-12800; APS-C: 3200-6400; Priority: Shutter speed 1/250 s
Scene: Lit night street; Full frame: 3200; APS-C: 1600; Priority: Urban detail
Scene: Milky Way; Full frame: 3200-6400; APS-C: 1600-3200; Priority: Star signal
Scene: Indoor arena sports; Full frame: 6400; APS-C: 3200; Priority: 1/1000 s non-negotiable
These values assume correct exposure at capture. If you come up a stop short and lift it in editing, subtract a stop from the limit.
Underexposing is the real enemy (ISO invariance aside)
The costliest mistake: shooting at ISO 1600 "to protect yourself from noise," ending up two stops underexposed and lifting in Lightroom. On many sensors, that produces more noise than shooting directly at a well-exposed ISO 6400, because you amplified the read noise along with the signal.
Derived rules:
Expose correctly at whatever ISO is needed: healthy histogram first, ISO number after.
Let Auto ISO work: manual mode with f/2.8 and 1/250 s fixed + Auto ISO with a ceiling at your personal limit is the most effective workflow in changing light.
Reduce noise in processing, not in camera: modern noise-reduction tools (including AI ones) recover ISO 12800 amazingly, but they need a well-exposed RAW as raw material.
The complete balance among ISO, minimum shutter speed and focus in dim light is developed in low light without noise, and the conceptual basis of ISO as the third side of the triangle in ISO sensitivity: control exposure with intention.
Frequently asked questions
Is it bad to use ISO 6400?
On any modern camera with an APS-C or larger sensor, no: well exposed, it produces perfectly usable files, especially after a pass of noise reduction in processing. It is infinitely better than a blurry photo at ISO 800.
Which is better: high ISO or a dark photo I brighten later?
High ISO with correct exposure, on the vast majority of cameras. Underexposing and lifting in editing amplifies shadow noise and adds color casts. Only on highly ISO-invariant sensors does the result tie, and even then you gain nothing by underexposing.
Should I use the camera's noise reduction?
For straight JPEG, moderate reduction helps. If you shoot RAW, mentally switch it off: it doesn't affect the RAW, and processing on a computer always offers better control and better algorithms.
Why do my low-ISO photos also have noise?
Because you underexposed and lifted shadows in editing: noise is a lack of light, not a number. Long exposures (thermal noise) and deep shadow areas of high-contrast scenes also play a part.
The two numbers you write down yourself
Your camera's real ISO limit is not a factory number: it is the combination of your sensor, your scene, your publishing destination and, above all, your exposure. The ranges above give you the map; the ten-minute test gives you your exact position on it.
Raise the ISO without fear when sharpness demands it: it is the decision that distinguishes someone who understands exposure from someone who obeys superstitions. At Enfogram you have the 44 photography cards with the exact settings for every situation, ISO limits included: print them, carry them with you and shoot with confidence.