Learn Photography From Scratch: A Complete Roadmap
A complete roadmap for learning photography from scratch: the order of the fundamentals, progressive practice and resources, with no expensive gear first.
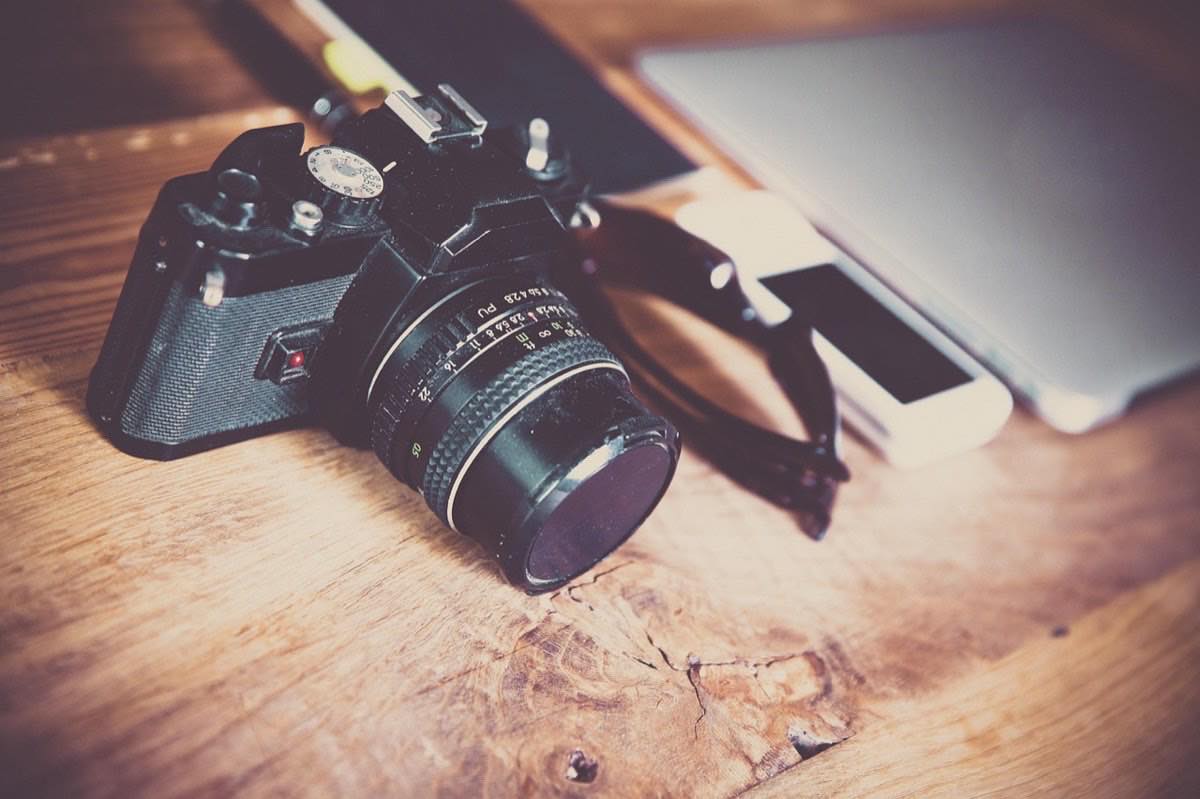
Every January, thousands of people set out to learn photography from scratch, often with a new camera they got as a gift and no idea where to start. The problem is not a lack of information (there are more free tutorials than anyone could watch in a lifetime) but a lack of clear order: learning composition before exposure, or buying lenses before understanding what each setting does, creates confusion that piles up instead of getting resolved.
This guide offers a sequential learning path designed to take you from zero knowledge to a solid, intentional level in one year, without needing expensive gear and without skipping stages that come back to bite you later.
Phase 1 (weeks 1–4): the exposure triangle
Everything starts here, without exception. Before composition, before genre, before style, you need to understand how aperture, shutter speed and ISO interact to control how much light reaches the sensor and what side effects each variable produces (depth of field, frozen or blurred motion, noise).
Suggested practice: for two weeks, photograph the same still object changing only one variable at a time, while compensating with the other two to keep the exposure constant. This builds intuition about what each setting does without the pressure of "going out to shoot something beautiful" just yet.
The exposure triangle made simple guide is the complete technical reference for this phase, with examples you can replicate exactly.
Phase 2 (weeks 5–8): light, the variable nobody teaches first
With the triangle understood, the next leap in quality doesn't come from more technical settings but from learning to see light: direction, quality (hard or soft), color. Most beginners' mediocre photos don't fail because of incorrect exposure; they fail because the light didn't flatter the subject and nobody noticed before pressing the shutter.
Suggested practice: spend two weeks photographing the same type of subject (it can be a simple object at home) under different natural light conditions: morning, midday, afternoon, side window, backlight. Compare the results and start noticing patterns about which light favors which type of image. The full fundamentals are in mastering the basics of natural light.
Phase 3 (weeks 9–14): composition and framing
Now that you control exposure and recognize light, composition stops being an abstract concept and becomes a tool you can apply: rule of thirds, leading lines, natural frames, managing negative space. This phase is where a technically correct photo starts turning into an interesting one.
Suggested practice: pick one place (your street, a nearby park) and visit it five different times, each time consciously applying a single compositional rule. The dynamic visual composition guide develops each principle with examples that apply to any genre.
Phase 4 (weeks 15–20): your first specialty genre
With the three fundamentals solid, choose a genre that genuinely attracts you (portrait, landscape, street, product) and dig into its specific technique for six weeks. This choice is neither final nor exclusive, but focusing on just one avoids the scattering that slows down many beginners who try to learn everything at once.
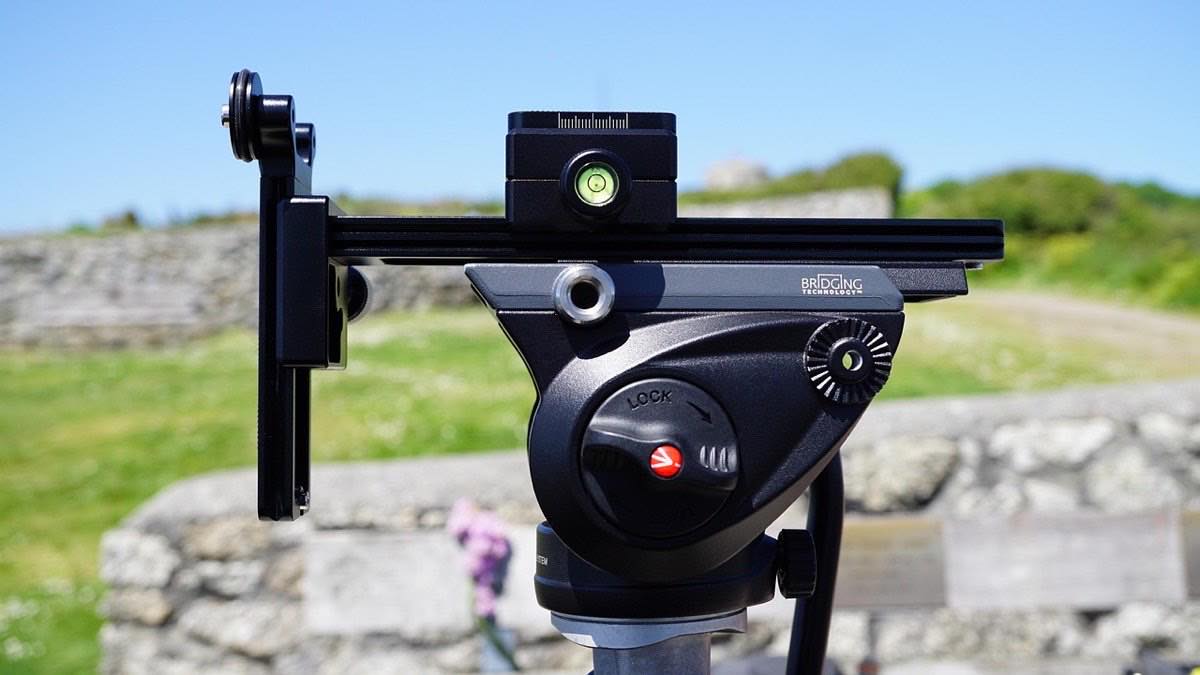
This is also the time to consider guidance: a mentor, a practice group or structured feedback measurably speed up this phase compared to learning entirely on your own. Concrete ways to get useful feedback and practice with purpose are in photography mentoring: how to learn faster.
Phase 5 (weeks 21–26): editing and workflow
Learning to process your RAW files and organize your growing photo archive closes the first semester of structured learning. Editing is not about "fixing" bad photos: it is about completing the intention you already had when you shot, adjusting exposure, color and contrast within the limits of what you captured.
In parallel, start good organization habits from the beginning: naming folders by date, backing up regularly, not leaving everything on the memory card. The habits of this workflow are in file management and workflow.
What does the six-month roadmap look like at a glance?
Phase: 1. Exposure triangle; Weeks: 1–4; Focus: Aperture, shutter speed, ISO; Expected result: Exposing correctly in manual
Phase: 2. Natural light; Weeks: 5–8; Focus: Direction, quality, color of light; Expected result: Choosing the right time and angle
Phase: 3. Composition; Weeks: 9–14; Focus: Framing, lines, space; Expected result: Photos with intentional visual structure
Phase: 4. Initial specialization; Weeks: 15–20; Focus: One chosen genre in depth; Expected result: Technical command of a specific area
Phase: 5. Editing and workflow; Weeks: 21–26; Focus: RAW processing, organization; Expected result: Organized archive and your own edited look
Phase: 6. Portfolio and next goal; Weeks: 27+; Focus: Selection and a plan for the following year; Expected result: A solid base to specialize further
You don't need expensive gear for any of these phases
One point worth repeating: all the phases of this roadmap can be completed with a decent phone or an entry-level camera with a kit lens. Expensive gear solves specific problems (extreme low light, wildlife telephoto, precision macro) that almost no beginner faces in their first six months. Spending on gear before finishing this roadmap is usually money poorly invested; the right order of investment, when the time comes, is detailed in 2027 gear budget: priorities.
To help guide your phase 4 (choosing a genre), you can find out what kind of photographer you are with this quiz: it often reveals leanings you hadn't consciously considered.
Frequently asked questions
Can I skip the exposure triangle and learn straight in automatic mode?
You can, but you seriously limit your ability to control the result: automatic mode decides for you in situations where your judgment would produce a better photo (blurred backgrounds, frozen motion, creative exposures). The first two months in manual are the highest-return investment of time in the whole roadmap.
How much time per day do I need to follow this roadmap?
Between 20 and 40 minutes of active practice most days is enough to complete each phase in the time indicated. Consistency matters more than the length of each practice session.
Do I need to take a formal course, or can I learn on my own with free resources?
Well-organized free resources (like this roadmap and the linked guides) cover the fundamentals perfectly. A course or mentorship adds value mainly through personalized feedback, which speeds up spotting mistakes you don't notice in your own work.
What do I do if I finish the six months and feel I didn't improve as much as I expected?
Check whether you really completed the active practice of each phase or only consumed information passively. Watching tutorials is no substitute for shooting; the roadmap works because it combines brief theory with repeated practice, not because of the amount of content consumed.
The order in which it pays to learn
Learning photography from scratch works best with a clear sequence: exposure first, then light, then composition, then a specialty genre, and finally editing and organization. Each phase builds on the previous one, and none requires costly gear to be completed seriously.
Start this week with phase one, without jumping ahead: the discipline of order is what distinguishes someone who truly learns from someone who just accumulates tutorials without applying them. At Enfogram you'll find the 44 photography cards with the exact settings for every situation: print them, carry them with you and shoot with confidence.