Maternity Photo Session: Light and Settings
A maternity session plan: which week it's usually booked, side light and backlight, poses that shape the curve and measured settings for full frame.
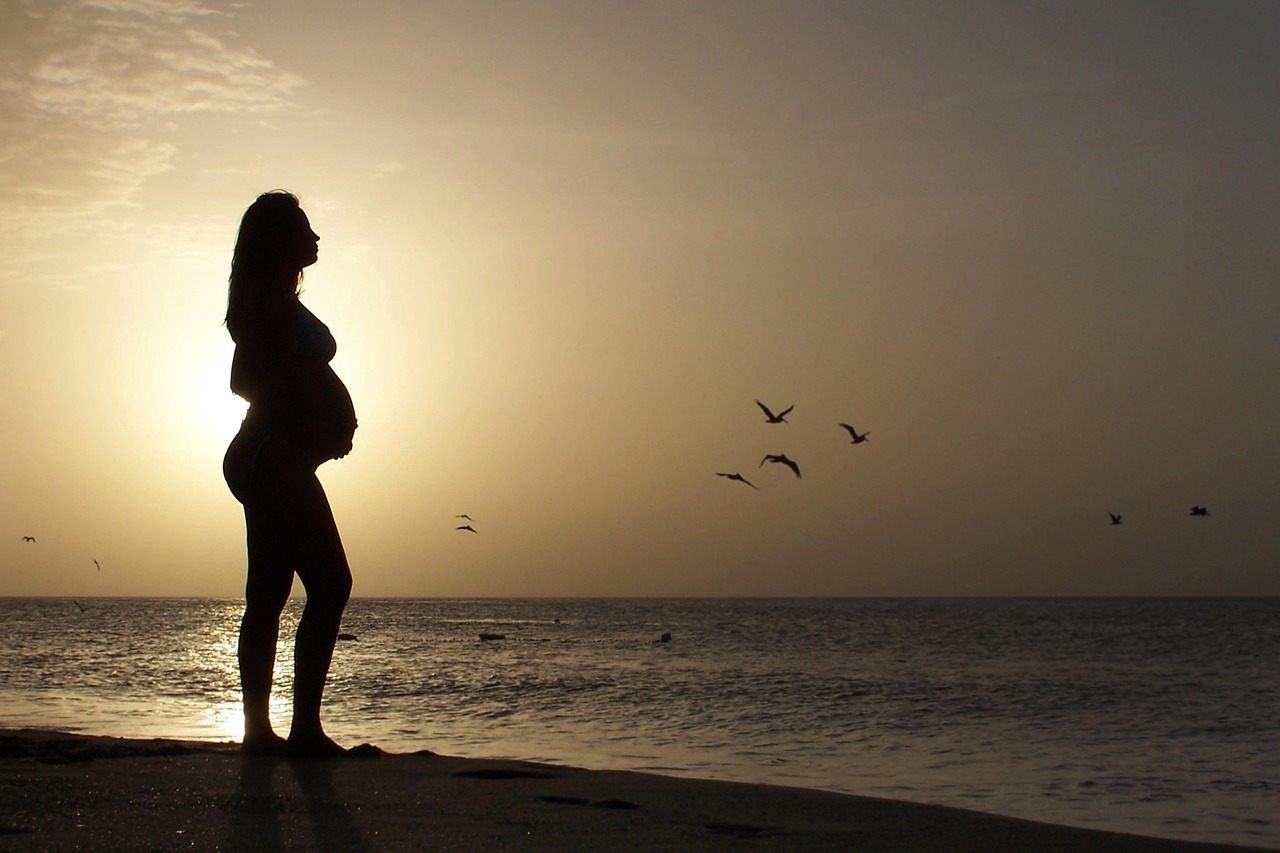
The light goes to the side or from behind, never from the front. The belly is a volume, and a volume is read by the gradient that runs across it: if you light from the front, the curve flattens and all that's left is an outline. Starting point next to a large window on a clear day, with full frame: 85 mm, f/2.8, 1/250 s and ISO 800. The session is usually booked between weeks 28 and 34, and lasts 45 minutes of shooting, not two hours.
Which week do you book it, and how long should it last?
The habit in the trade is to book between week 28 and week 34. The reason is about the calendar and the image, not medical: before week 28 the curve is barely distinguishable in a photograph with clothes on, and later the schedule becomes uncertain. Each person's comfort and circumstances decide the date, and that decision isn't yours to make. Ask which day and what time they feel best, and book then.
Duration: 45 minutes of shooting, 60 as a ceiling, plus 15 for wardrobe. Two hours on their feet don't produce better photographs, they produce tiredness that shows on the face from minute fifty. Don't chain another session right after: if you have to stop for twenty minutes, you stop.
The light that shapes the curve: side window and sunset backlight
Indoors, place the person in profile or three-quarters to the window, and yourself perpendicular to that direction. The light comes in raking from the side, the shadow falls on the opposite side of the belly and the upper edge of the curve is drawn by a gradient. If she faces the window and you shoot from in front of it, you have frontal light: clean skin and no form.
Distance to the glass, 1.5 m: closer, the light falloff between the face and the hip shoots up; farther, the light flattens. A white reflector or a light-colored wall on the shadow side opens up that side by half a stop to a stop. The complete single-window setup, with the reflector in place, is in window light portrait.
Outdoors, the backlight of the last twenty minutes of sun outlines the edge of the belly with a line of light and leaves the face in the soft shadow of her own body. Meter on the face, not the sky, and assume the background will go white. Lens hood on and your hand shading the front element if the sun enters the lens directly, because the low-contrast veil leaves the image milky. Work out sunset for your location with the golden hour calculator and schedule 40 minutes ahead, not on the hour.
Heat is the real problem in summer. A 32 °C (90 °F) afternoon turns a 300-meter walk into the end of the session: shade less than a minute away, cold water and two locations separated by 100 meters at most.
What settings do I use in each scene?
Measured values for full frame. The reference focal length is 85 mm because at a meter and a half it respects the proportions of the face and separates the background without distorting anything.
Scene: Large window, clear day, no direct sun, at 1.5 m (≈ EV 8); Focal length: 85 mm; Aperture: f/2.8; Shutter speed: 1/250 s; ISO: 800; What it costs: Visible noise in the shadows of a dark dress
Scene: The same window, seated and still pose; Focal length: 85 mm; Aperture: f/2.8; Shutter speed: 1/125 s; ISO: 400; What it costs: One stop less noise; any sway comes out blurred
Scene: Outdoors backlit, last 20 minutes of sun (≈ EV 11); Focal length: 85 mm; Aperture: f/2.8; Shutter speed: 1/500 s; ISO: 200; What it costs: The background goes white and there's no sky to recover
Scene: Open shade or overcast at midday (≈ EV 12); Focal length: 85 mm; Aperture: f/2.8; Shutter speed: 1/500 s; ISO: 100; What it costs: Flat light: without a side wall or a reflector, the curve is lost
Scene: Profile silhouette against the sunset sky (≈ EV 12 metering the sky); Focal length: 85 mm; Aperture: f/4; Shutter speed: 1/250 s; ISO: 100; What it costs: The face goes black and isn't recoverable; it's the intention, not a flaw
Scene: Studio, one softbox at 45° and a plain background; Focal length: 85 mm; Aperture: f/5.6; Shutter speed: 1/160 s; ISO: 100; What it costs: Shutter speed only governs the ambient light; the exposure is set by the power
Check with your meter. If your reading differs from the row, move the ISO and leave aperture and shutter speed alone: they are what define the look.
Other formats. The same framing comes out with a 56 mm on APS-C (1.5×), a 53 mm (1.6×) or a 42.5 mm on Micro Four Thirds. The exposure doesn't change; the blur does: f/2.8 on APS-C blurs roughly like f/4 on full frame.
f/2.8 gives less margin than it seems. At 85 mm and 3 m distance, the sharp zone measures about 21 cm: it covers one person turned, not two staggered. At f/5.6 it rises to about 42 cm, which is the minimum for the couple. Verify it in the depth of field calculator.
With flash, 1/160 s is below the sync speed of almost any camera, but check yours first: going over leaves a black band at the edge of the frame.
Flattering poses: hands, shoulders and weight on the back foot
The structure of the standing pose is always the same and produces half of the day's good photographs:
Hips turned 45° away from the camera, shoulders rotated back toward you. The belly reads almost in profile while the face stays at three-quarters.
Weight on the back foot, front foot forward with the heel slightly lifted. That tilts the hip line and lengthens the silhouette; with the weight evenly spread, the body looks like a block.
Hands: one under the curve, the other above or on the hip. Fingers relaxed and slightly apart, resting without pressing. A hand that squeezes distorts the clothing and shows in the skin of the fingers. Both hands forming a heart is a stock-photo cliché.
Chin forward and slightly down, near shoulder lowered, arms a hand's width away from the torso or they flatten against the side.
Camera height. For a full-length shot, at chest height: from below you widen, from above you shorten the legs. For medium shots and close-ups, at eye level.
The pure 90° profile is the most graphic framing of the genre and the easiest to spoil: without the chin forward, a double chin appears. If the person freezes in front of the lens, the instructions for someone who isn't a model are in how to pose people who aren't models.
How do I include the partner or an older child without it being a lineup?
Discard the "three people standing facing the front" format. The combinations that do build an image:
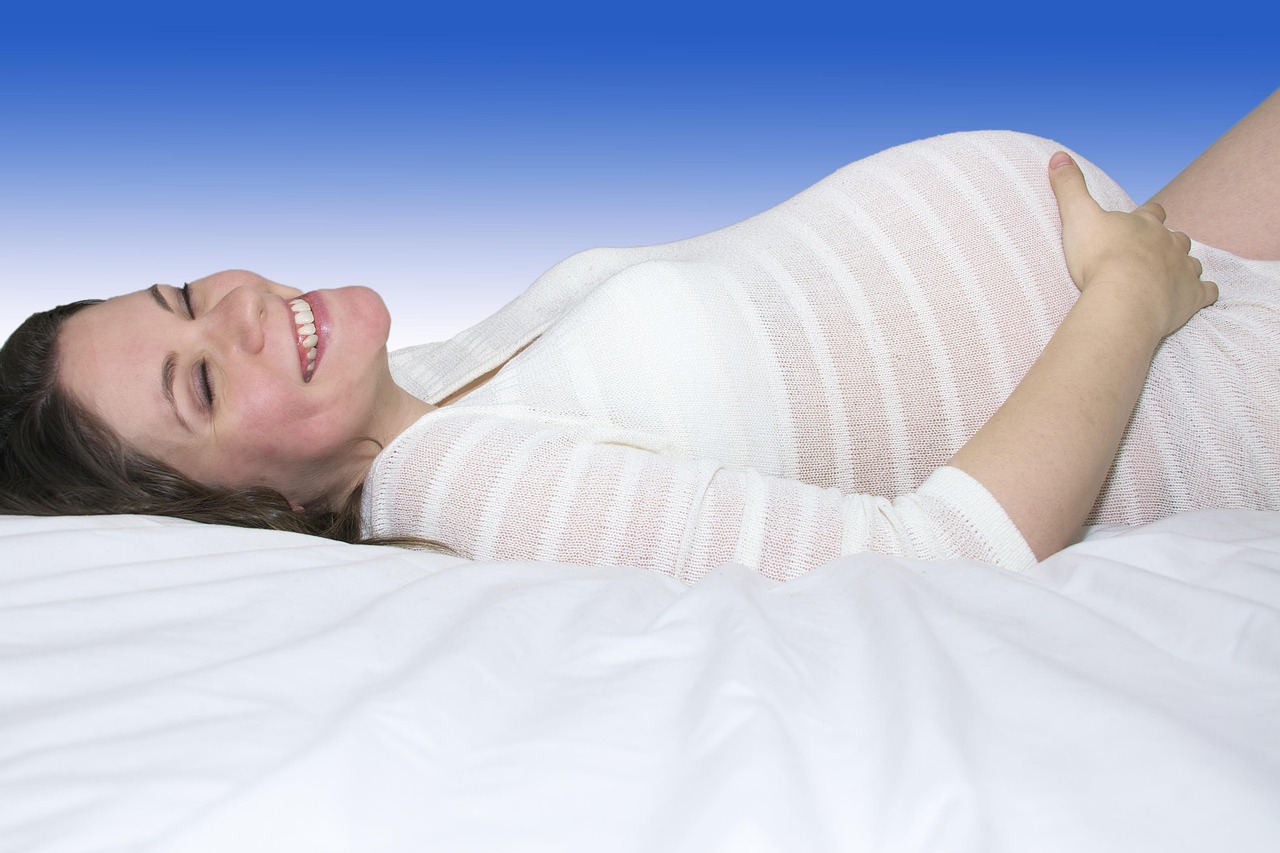
Partner behind, chest against her back, his hands under hers on the curve and chin near her temple. The heads sit at different heights and the group forms a diagonal.
Facing each other in profile, bellies almost touching and foreheads together. Frame the gap between the two bodies: that triangle of light is the photograph.
Older child at belly height, seated on a chair or kneeling on a pouf. Give them a concrete task ("listen to see if the baby moves," "give it a kiss and count to three"), because a child without instruction looks at the camera and fakes a smile.
Hands in a chain over the curve, tight framing at 85 mm: it solves the family portrait without managing three faces at once.
Stop down to f/4 or f/5.6 as soon as a second person enters, or one of the two faces will come out soft. The criteria for staggering and aperture for groups are in the contemporary portrait guide.
What do I prepare before she arrives?
One chair inside the set and another outside. Half of the best poses are seated and breaks are taken without leaving the spot.
Water, a snack and a blanket. With the belly uncovered it gets cold even indoors; turn up the heat before she arrives.
A bathroom within five minutes. That rules out half the beaches and almost all the viewpoints; check the location beforehand, not on the day.
Wardrobe tried on that same week, not a size ordered a month earlier. Two or three options.
Elastic marks. Socks, waistbands and straps leave marks and take twenty or thirty minutes to fade: start with the face and hands shots, and leave the uncovered skin for the second block.
Flat shoes in the bag and barefoot on grass or sand. A heel on uneven ground ends the session early.
The 45-minute shot list
Work through it in order; if the session is cut short, you already have a deliverable.
Medium shot standing by the window, three-quarters, hands under the curve.
The same shot, gaze off-frame toward the light.
Pure 90° profile, chin forward.
Full-length shot, camera at chest height.
Detail of hands on the curve, 85 mm and f/4.
Seated on the floor or in the chair, leaning against the wall.
Tight face portrait, no belly in frame.
Partner behind, hands in a chain.
Couple facing each other in profile, gap of light in the center.
Older child at belly height, listening.
Move outdoors: full-length backlit shot.
Profile silhouette against the sky, closing the session.
Frequently asked questions
Which week is the maternity photo session done?
It's usually booked between weeks 28 and 34, because earlier the curve is hard to see in photographs and later the schedule is less predictable. It's a calendar convention, not a medical indication: each person's comfort and circumstances rule over any standard calendar.
What clothing is flattering for a maternity session?
Garments that follow the curve instead of hiding it: fitted knit, a long dress with a fitted bodice or a short top with a high-waisted skirt. She should try the clothes on that same week and bring two or three options, because a size ordered a month earlier may not fit on the day of the session.
What lens do I use for pregnancy photography?
An 85 mm on full frame (56 mm on APS-C, 42.5 mm on Micro Four Thirds) for portraits and medium shots, and an equivalent 50 mm if the room is small and you need a full-length shot. Avoid wide-angle at close range: at 24 mm and 1.5 m, whatever is closest to the lens gets enlarged, and the closest thing is usually the belly.
Can it be done at home with a single window?
Yes, and it's the most-used setup in the genre. Person 1.5 m from the glass and turned in profile to the light, camera perpendicular, a reflector or a white sheet on the shadow side, and 85 mm at f/2.8 with 1/250 s and ISO 800 on a clear day with no direct sun.
What you check the night before
Batteries, formatted cards, lens hood in the bag, sunset time noted down, the chair and blanket ready, and the message confirming wardrobe and meeting point. Program the two settings you'll actually use into the camera: window at f/2.8, 1/250 s and ISO 800, and backlight at f/2.8, 1/500 s and ISO 200. The rest is corrected on the fly, and the order of the shot list makes sure nobody stays standing for more than ten minutes straight.
The 44 Enfogram cards come with these window and backlight settings printed on them, to check at a glance while the person waits on her feet and the sun goes down.