Night City Photography Without a Tripod: ISO and Stabilization
Night photos without a tripod: how to combine high ISO, stabilization and good bracing technique to shoot handheld in the city at night.
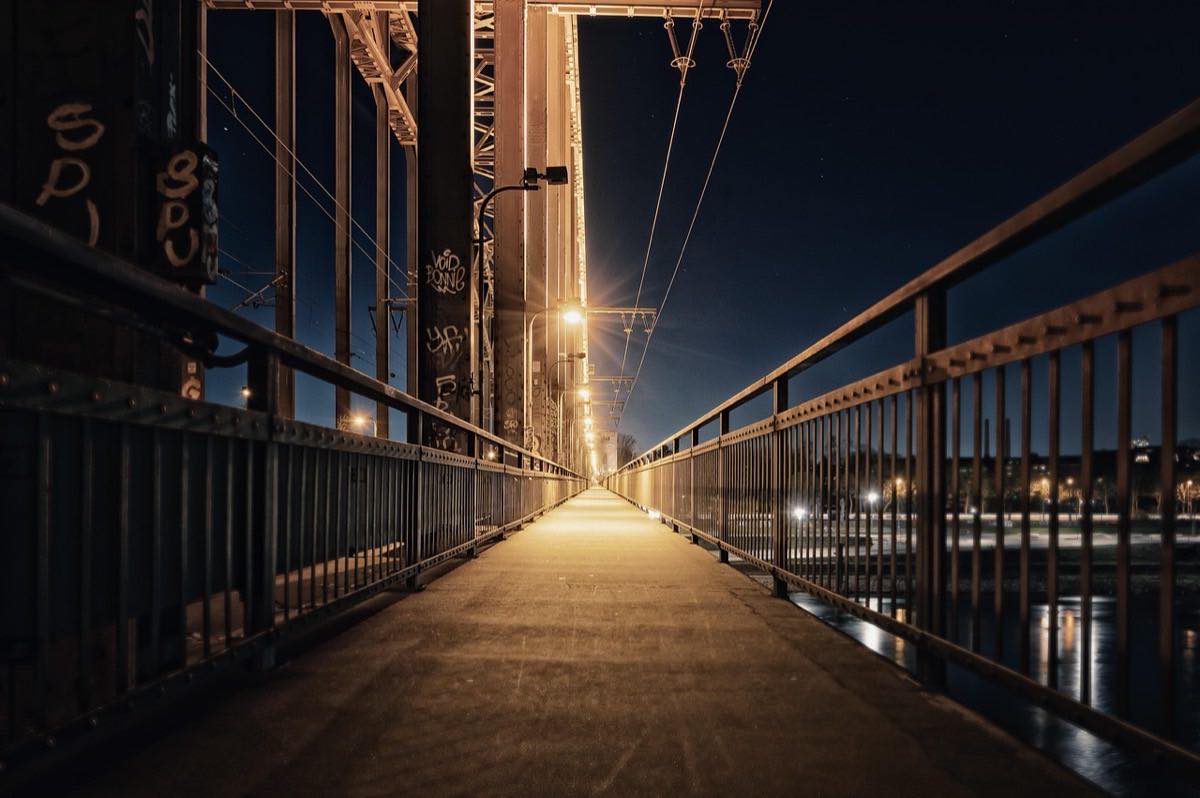
You don't always have a tripod at hand, and many of the best urban night photos are born precisely from lightness: walking, reacting, shooting in seconds. Night photos without a tripod depend on a different balance than classic night photography: instead of unlimited time on three fixed legs, you work against the biological clock of your own pulse.
The good news is that modern cameras make this far more viable than it was a decade ago: sensors that perform well at ISO 6400, multi-stop stabilization and affordable fast lenses. The right combination of these three factors, plus a solid body-bracing technique, lets you photograph at night with the same freedom as in daytime.
This article covers the math of the real minimum shutter speed, how to use ISO without fear and the bracing tricks that replace the tripod. The full theoretical ground is in the low-light photography guide.
The real minimum shutter speed: your own limit, not a textbook rule
The old rule says: minimum shutter speed = 1/equivalent focal length (a 50 mm needs at least 1/50 s). It's a reasonable starting point, but your real limit depends on three variables the rule ignores:
Stabilization: a modern 4-5.5 stop system lets you shoot a 35 mm at 1/4 s or even slower with good technique, far below the classic rule.
Your own pulse and bracing technique: someone trained in breathing and bracing gains 1-2 extra stops over someone shooting standing with no support.
Size of the subject in the scene: a full-body portrait forgives more residual movement than a façade full of fine detail.
Run the test just once with your own gear: shoot the same scene at 1/60, 1/30, 1/15 and 1/8 s with stabilization on, zoom to 100% and note where perceptible blur begins. That's your real number, not the formula's.
Lens / focal length: 24 mm f/1.8; Without stabilization: 1/25 s; With stabilization (4-5 stops): 1/3 - 1/6 s; Typical ISO needed: 1600-3200
Lens / focal length: 35 mm f/1.8; Without stabilization: 1/35 s; With stabilization (4-5 stops): 1/4 - 1/8 s; Typical ISO needed: 1600-3200
Lens / focal length: 50 mm f/1.4; Without stabilization: 1/50 s; With stabilization (4-5 stops): 1/8 - 1/15 s; Typical ISO needed: 800-1600
Lens / focal length: 85 mm f/1.8; Without stabilization: 1/85 s; With stabilization (4-5 stops): 1/15 - 1/20 s; Typical ISO needed: 1600-3200
Lens / focal length: 24-70 f/2.8 zoom at 50 mm; Without stabilization: 1/50 s; With stabilization (4-5 stops): 1/10 - 1/15 s; Typical ISO needed: 1600-3200
ISO without fear: sensitivity is your ally, not your enemy
The costliest mistake in handheld night photography is protecting ISO and sacrificing sharpness. A well-focused, sharp photo at ISO 6400 always beats a blurry photo at ISO 1600: grain can be corrected or even enjoyed; motion blur has no remedy.
Priority strategy in the city at night:
Open the aperture all the way on your lens (f/1.4-f/2.8).
Set the safe minimum shutter speed according to your personal test (never below it).
Let the ISO rise as much as it needs to, with no artificial self-imposed ceiling.
Current cameras, even mid-range ones, deliver perfectly usable results up to ISO 6400-12800 with good base exposure. The full detail of why well-exposed high ISO is preferable to underexposure is in ISO sensitivity in photography: control exposure with intention.
Bracing technique: the tripod you carry in your body
Without a tripod, your own body and the surroundings become the stabilization system:
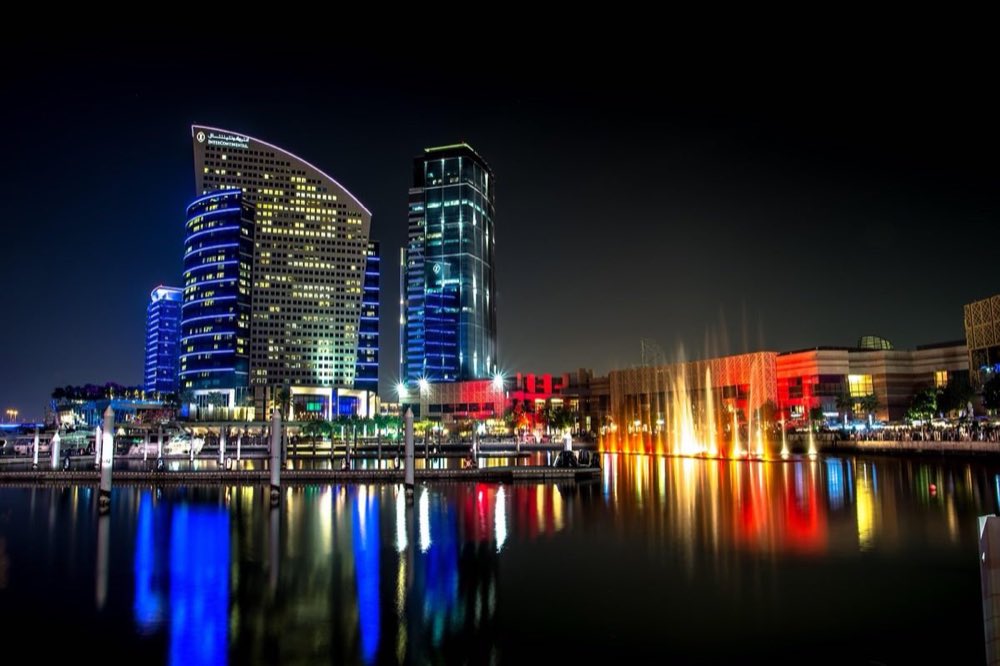
Shooter's stance: elbows tucked against the torso, one foot forward, controlled breathing: exhale halfway and shoot in the natural pause.
Bracing on urban surfaces: railings, columns, tables, the ground itself. Resting the lens body (not just your hands) against a fixed surface subtracts one or two stops of vibration instantly.
Short burst: shoot 3-4 frames in a row of the same composition; the natural variation of your pulse means at least one comes out sharper than the rest.
2-second self-timer even handheld: pressing the button introduces a jolt; holding the camera already braced and activating the timer eliminates it.
Rest the lens on your own hand against a wall or pole: a simple trick that multiplies stability on narrow streets.
This same body discipline is the basis of night street photography, where quick reaction matters as much as technique; the narrative approach of anticipating and observing is explained in street photography: anticipate, observe and tell stories honestly.
When handholding isn't enough: quick alternatives
There are scenes where not even the best bracing technique makes up for a long exposure. Intermediate options before surrendering to a full tripod:
Pocket mini tripod or a camera pouch as a wedge: rested on a table or wall, it supports exposures of several seconds with full-tripod quality.
Burst mode with software alignment: several handheld shots combined digitally reduce noise and compensate for micro-movements, similar to traditional night stacking.
Raise the ISO one more stop than is comfortable rather than lengthening the shutter speed beyond your tested limit: it's always the safest correction.
Frequently asked questions
How high can I raise the ISO without ruining the photo?
The limit is defined by your camera and your tolerance, but as a reference: most modern full-frame bodies perform well up to ISO 6400-12800; APS-C, up to 3200-6400. Test your gear once and trust that number in the field.
Does lens stabilization replace the tripod?
Not for everything: it compensates for the shake of your hands, not the movement of the subject, and it doesn't allow multi-second exposures like a tripod. For traffic trails or long creative exposures, the tripod is still indispensable.
What lens is best for urban night photography without a tripod?
A fast, medium-to-wide focal length: a 24-35 mm f/1.8 or f/1.4 is the sweet spot between useful framing, portability and maximum light intake.
Does a phone's night mode work without a tripod?
Computational night modes are designed for exactly this: they stack several short exposures even handheld and compensate for motion in software. They work surprisingly well for static scenes, but fail with moving subjects.
The order of priorities without a tripod
Photographing at night without a tripod is a matter of the right priorities: open the aperture, know your real minimum shutter speed (not a book's) and let the ISO rise without fear. Body bracing and the urban surroundings do the rest.
With these settings memorized, any night walk becomes a possible session. At Enfogram you'll find the 44 photography cards with the exact settings for every situation: print them, carry them with you and shoot with confidence.