Controlling Reflections and Texture in Photography
Learn to control reflections and bring out texture in product, portrait and food photography. Professional lighting for clean, true-to-life photos.
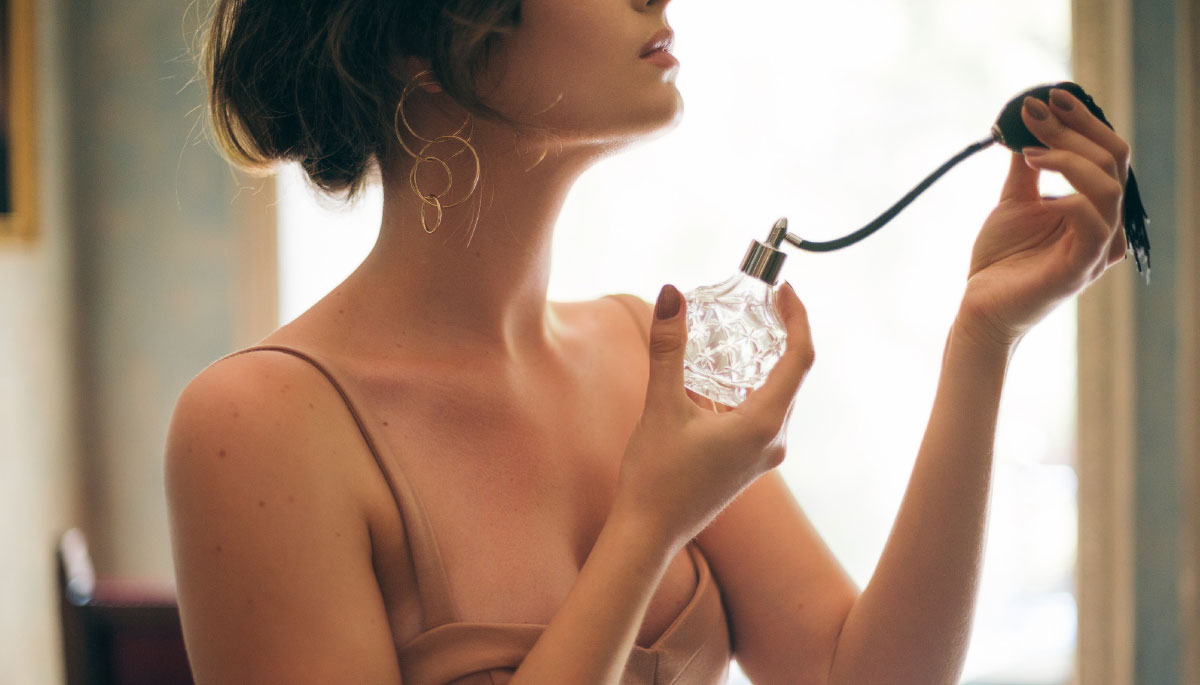
A reflection is controlled by deciding where it falls and what shape it has: a large, diffused source close to the subject. A small, hard light leaves pinpoint glints; a large, close one leaves shaped specular highlights, which is what draws the curves of a bottle instead of covering them up.
It is most noticeable in product, portrait and food photography: a shiny object is ruined by a badly placed glint, a garment loses its character if the fabric looks flat, and a face looks artificial if the light doesn't reveal its real volume. The guide to studio lighting covers the complete setup of the set.
Why do reflections bother us so much?
On shiny surfaces like glass, metal or plastics, uncontrolled reflections distract the eye and pull attention away from what matters: the product itself. In jewelry photography, for example, a bad reflection can make a stone lose its transparency.
In portraits, reflections on the skin, forehead or lips can make the person look sweaty or uncomfortable. And in food photography, excessive shine turns food into something unrealistic.
All the work consists of placing and modifying the light so that it preserves volume, texture and realism.

How do I make texture show?
Texture is what lets the viewer "feel with their eyes." In a fashion photograph, a silk fabric should look smooth; in a product shot, leather should show its natural grain; in food photography, bread should look crusty.
Achieving it depends on the direction of the light: side or raking light to bring out relief, diffused to soften it, and controlled with modifiers (softbox, diffusers, reflectors, flags) to keep the texture from turning into noise or excess contrast.
Which techniques control a reflection?
Large, close diffused light: minimizes reflections on shiny surfaces and produces soft highlights with visible shape (speculars) instead of hard glints.
Polarizers (on the lens or on the light): reduce reflections and saturate color. They are especially effective on glass, water and plastics.
Black backgrounds and flags: control unwanted highlights and add dark separation between the product and the background.
Raking light (at an angle close to the subject's surface): reveals texture with precision, ideal for materials such as wood, fabric or bread.
Multiple small sources: balance highlights without creating a dominant distraction point.
Lighting setups by material
Each material reacts differently to light, and knowing which one asks for what saves you half the studio time:
Material: Glass and transparent liquids; Where the light goes: Behind or from below, diffused; Key modifier: Lit background: lightbox or translucent paper with light behind it; What you get: No frontal reflections, defined shape
Material: Shiny metals; Where the light goes: Wraparound, never a point source; Key modifier: Large softbox or diffusion tent, plus black flags; What you get: Uniform reflection and dark edges that give shape
Material: Fabrics and skin; Where the light goes: Side raking light; Key modifier: Reflector on the opposite side; What you get: Visible weave and grain, controlled shadows
Material: Food; Where the light goes: Side: large window or medium softbox; Key modifier: Silver reflector in front; What you get: Window light, repeatable in the studio
In fashion the two are combined: raking light for the fabric's texture and a soft frontal fill so the shadows don't close up.
For more complex lighting projects, the principles of studio lighting for portraits and products apply directly to controlling reflections.
Reflections as a creative resource
Not every reflection is a problem. In certain cases, the reflection is part of the storytelling:
A luxury product can benefit from an elegant specular that communicates quality.
In jewelry photography, the controlled sparkle of a precious stone is part of its appeal.
In architecture, the reflection of a building on a water surface can be the main compositional element.
The difference between a reflection that works and one that ruins the image is whether it was intentional and controlled or simply happened without planning.

What mistakes ruin a controlled reflection?
One of the most frequent mistakes is lighting from the front thinking this eliminates reflections: in reality, it flattens texture and creates highlights that are hard to control. Another is relying only on post-production: a blown reflection can't be recovered, and lost texture can't be invented.
It is also a mistake to ignore scale: a small, hard light will accentuate flaws, while a large, close light will soften them. The secret is deciding according to the purpose: realism, drama or neutrality.
A rarely mentioned mistake is not checking the whole set before shooting. Small objects out of frame (cables, packaging, the photographer's coffee cups) can reflect in shiny surfaces and appear in the final image. A check from an extreme angle before starting the session prevents it.
To understand how natural light can replace or complement studio setups, the guide to natural light in photography offers useful perspectives for product and food work.
Frequently asked questions
Does a lens polarizer always eliminate reflections? No. A polarizer works well with non-metallic surfaces (water, glass, plastic), but it doesn't eliminate reflections on polished metals. For those cases you need to control the light with flags and modifiers.
How do I keep skin from looking shiny in portraits? Use soft, side light, avoid harsh frontal lighting, and combine with mattifying makeup. A silver reflector can add volume without exaggerating highlights.
What if I work only with natural light? Take advantage of large windows with translucent curtains as diffusers and use white or black surfaces as improvised reflectors and flags. Even with natural light you can achieve precise control.
Can I fix reflections in post-production? Only partially. Blown reflections can't be recovered. That's why control has to happen at the shoot, leaving editing only as fine-tuning, not as a lifesaver.
What is the key to bringing out texture without overdoing it? Light with soft side light and control the intensity. Low-power raking light brings out textures without making them aggressive.
The thirty-second check before you shoot
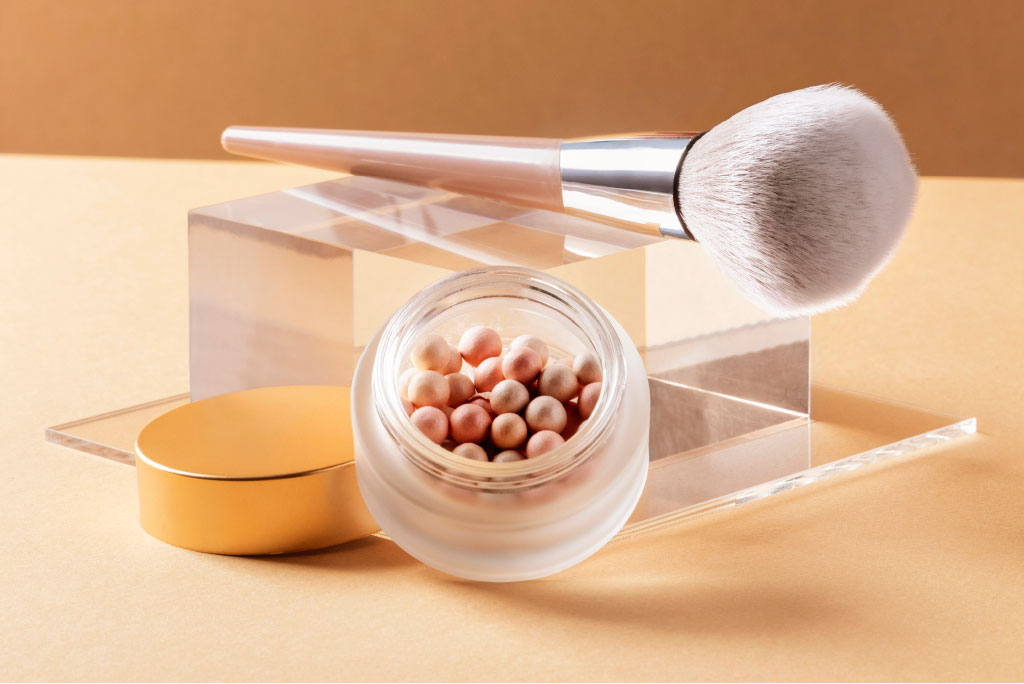
Get down to camera level and look at what is reflecting in the subject: cables, packaging, your own coffee cup. Then decide one thing for each highlight you see: did you put it there on purpose, or did it simply appear? A blown reflection can't be recovered in processing and lost texture can't be invented, so those thirty seconds are worth more than any later adjustment.
The 44 printed cards from Enfogram include the lighting diagrams by material, so you can build the set with the card beside you instead of relying on memory.