Editing Night Photos: A Complete Workflow
Edit night photos step by step: white balance, noise reduction, selective contrast and color for a natural, powerful result.
The night capture is only half the work. A RAW file of the Milky Way or a night skyline comes out of the camera flat, with apparent excess noise and shifted colors: editing night photos correctly is what turns that raw file into the image you saw with your eyes (or the one you imagined when planning the shot). Without an orderly workflow, it's easy to overprocess and end up with plasticky skies or unrealistic colors.
The key to a good night edit is the order of operations: each adjustment amplifies or corrects the previous one, so applying them in the wrong sequence multiplies the work and worsens the result. This article presents the complete workflow, step by step, applicable to any modern RAW editor.
If the capture was the challenge, here is the finishing touch; and if you want to review why exposing well cuts the editing work in half, the guide to post-processing and creative digital development is the theoretical framework for everything that follows.
Step 1: Basic corrections first
Before touching contrast or color, resolve the structural issues:
Lens correction: enable the profile for your body-lens combination to correct vignetting and distortion, especially noticeable on wide-angles opened to f/1.8-f/2.8 used at night.
White balance: start at 3800-4200 K for a starry sky (cooler brings out the blue-purple of the Milky Way); 3000-3500 K if candles or dominant warm lights are present; leave the eyedropper on a neutral area if the scene allows.
Global exposure: adjust the overall midpoint before touching specific areas; if you exposed with ETTR (to the right), here you lower slightly to recover the desired night look.
Step 2: Noise reduction, with a mask
This step comes before contrast because stretching contrast over untreated noise amplifies it brutally.
Apply AI or traditional noise reduction at moderate strength (30-50 out of 100): the maximum flattens fine detail and produces plasticky textures.
Separate luminance and color: chroma noise (green/magenta blotches) can be treated aggressively at no apparent cost; luminance noise (grain) needs more care because that's where the stars' texture lives.
Mask by zones: sky tolerates strong denoising, a textured foreground (rocks, trees, buildings) needs gentle denoising so as not to lose real detail.
The technical detail of this stage (why noise happens and how to minimize it from the capture) is developed in night noise reduction: camera and software.
Step 3: Selective contrast, not global contrast
Raising the global contrast of a night photo blows out the sky and sinks the foreground shadows at the same time. The correct technique works by zones:
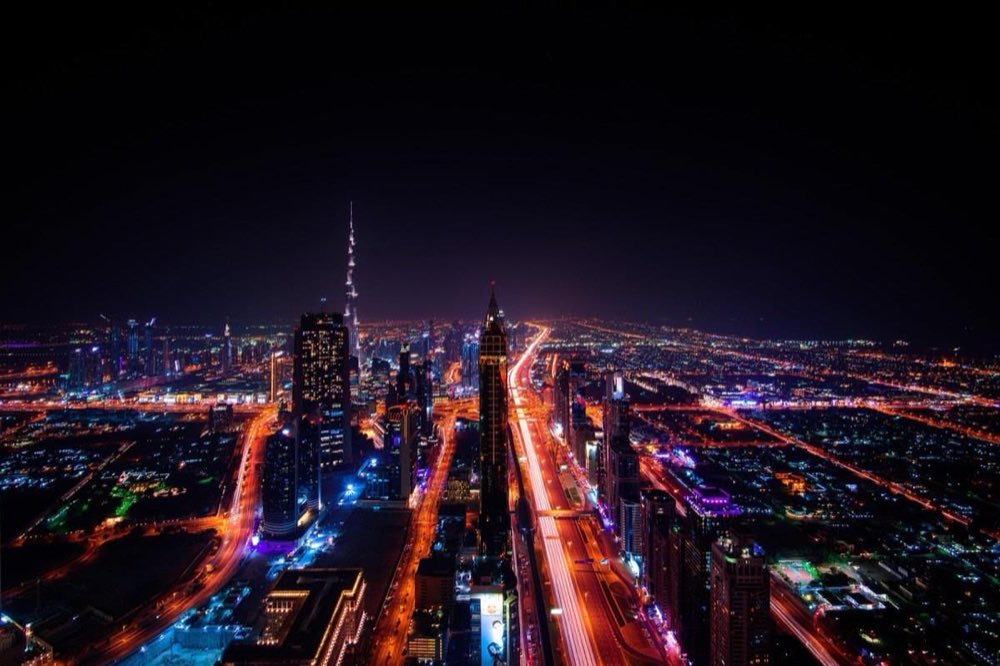
Gentle S-curve over the whole to add depth without sacrificing the extremes.
Local clarity/texture applied only to the sky (with a gradient mask or brush) to separate the galactic core from its background.
Selectively lifted shadows in the foreground, letting the sky keep its deep black.
Controlled highlights in areas of artificial lights or moon, avoiding the clipping that loses all color information.
Image zone: Sky / galactic core; Main adjustment: Clarity, local contrast; Typical range: +20 to +40
Image zone: Stars; Main adjustment: Soft texture, no aggressive sharpening; Typical range: +10 to +20
Image zone: Dark foreground; Main adjustment: Lifted shadows; Typical range: +30 to +60
Image zone: Artificial lights; Main adjustment: Reduced highlights; Typical range: -20 to -40
Image zone: Horizon / urban glow; Main adjustment: Darkening gradient; Typical range: Varies by Bortle
Step 4: Color with intention, not excess
Color is where night editing is most abused. Principles of restraint:
Moderate global saturation: raise vibrance (which saturates already-saturated tones less) before pure saturation, which exaggerates any color cast.
Selective HSL: adjust the sky's blues and purples separately from the foreground's ambers or the urban lights, without one contaminating the other.
Beware of the "catalog blue": a hyper-blue, saturated night sky is the easiest signature to spot in an unnatural edit. Compare with real references before deciding it is finished.
The light pollution glow on the horizon (if there is one) can be selectively desaturated instead of just darkened, which improves the result without looking artificial. The context for why that glow appears is in light pollution: Bortle scale and filters.
Step 5: Sharpening, export and blending shots
Sharpening in editing always goes last, because it amplifies any residual noise:
Sharpening mask: apply sharpening only on edges (stars, silhouettes), never on flat sky areas.
If you blended two exposures (night sky + long-exposure or blue-hour foreground), this is the moment to merge layers with luminosity masks, taking care that the transition is invisible.
Always export at the destination resolution: for social media, a high-quality JPEG at 2048-2560 px wide is enough; for print, export TIFF or maximum-quality JPEG at full resolution.
Frequently asked questions
Why does my night sky look "dirty" or banded after editing?
It's banding from stretching a file with little tonal information too far (original underexposure or prior JPEG compression). The root solution is to expose better at capture (ETTR); in editing, apply a slight grain/dither to hide the bands.
Should I edit in color or try black and white for night shots?
It depends on the scene: Milky Way landscapes usually gain from the blue-amber contrast of color; urban night shots with a lot of mixed color noise sometimes benefit from a black and white that eliminates that chromatic distraction and enhances shapes and lights.
How long should it take to edit a night photo?
With the orderly workflow, between 5 and 15 minutes per image once you've mastered the steps. Stacking and blending multiple exposures can extend it, but the base edit of a single shot is quick if you don't improvise the order.
Are there reliable presets for night photos?
They serve as a starting point, never as the final result: every sky, every level of light pollution and every camera produces a different file. Use the preset to save clicks in the first steps and adjust the rest manually, especially the selective contrast and color.
The sequence, in this order
Editing a night photo is a logical sequence: basic corrections, masked noise reduction, selective contrast by zones, color in moderation and sharpening at the end. Following that order avoids overprocessing and preserves the naturalness that makes the image believable.
With capture and editing mastered, all that's left is to go out and try the full workflow. At Enfogram you will find the 44 photography cards with the exact settings for every situation: print them, carry them with you and shoot with confidence.