Exposure Bracketing Step by Step
Exposure bracketing explained: how to set up AEB, how many shots and what spacing to use, and how to merge them into a natural-looking HDR.
Exposure bracketing is the technique of capturing the same scene several times at different exposures: one "correct" shot, one or more underexposed and one or more overexposed. It was born in the film era as insurance against metering mistakes, but today it is mostly the gateway to quality HDR: the way to capture scenes whose contrast exceeds what your sensor can record in a single shot.
A sunset with a foreground in shadow, an interior with sunlit windows, a dim street under a bright sky: in all of them, a single exposure forces you to sacrifice highlights or shadows. Three well-planned exposures capture everything.
When bracketing is worth it (and when it isn't)
Bracket when the histogram asks for it: if with your best single exposure you have clipping at both ends at once (blinking highlights and clogged shadows), the scene exceeds the sensor's dynamic range and no editing will invent that range afterward.
Typical scenes: sunrises and sunsets with dark ground, architectural interiors with windows, backlit landscapes, caves and alleys with visible sky.
You don't need it when: the scene fits within the histogram (most scenes with front or diffused light), the subject moves too much (people walking between shots create ghosts), or you can solve it with a graduated filter on clean horizons.
The full context for this technique and its merging is in the guide to HDR techniques and exposure blending, which covers everything from capture to natural-looking processing.
How do I turn on bracketing on my camera?
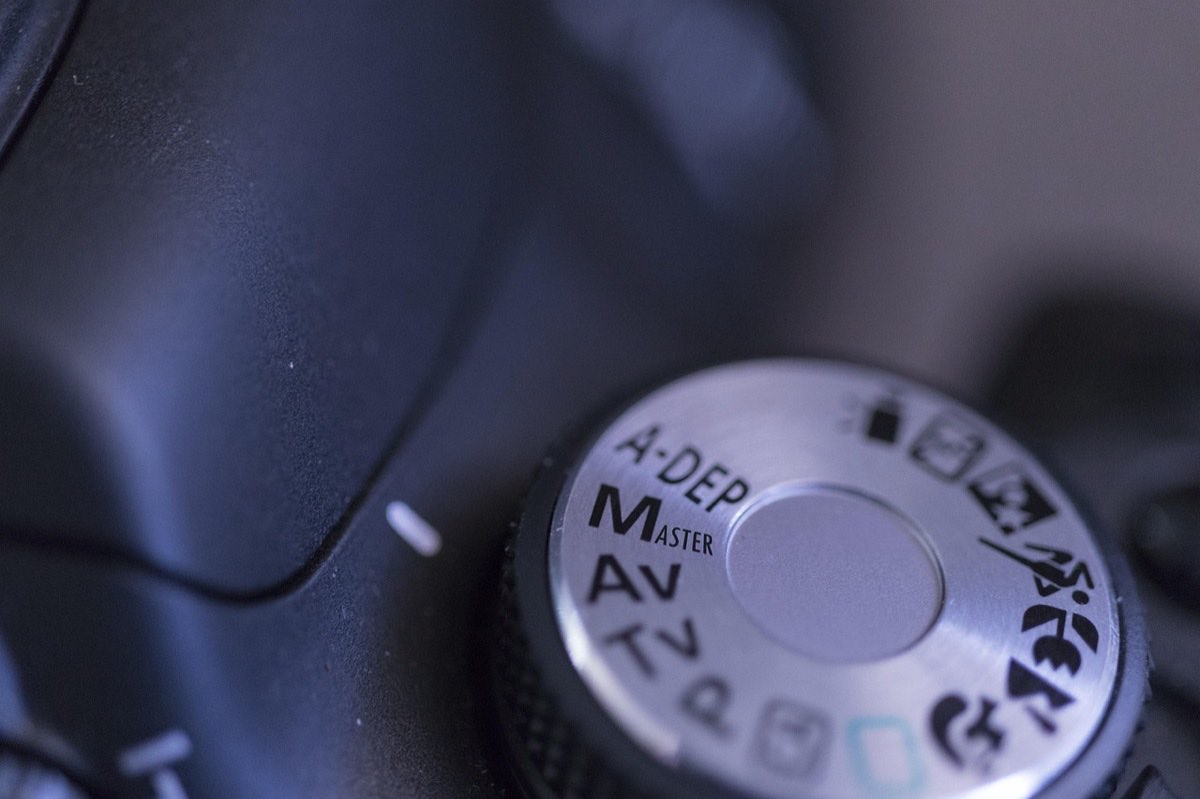
Turn on AEB (Auto Exposure Bracketing): in the shooting menu or with a direct BKT button, depending on the brand. Set the number of shots and the spacing.
Choose 3 shots at ±2 EV as a baseline: -2, 0, +2 covers about 4 extra stops of range, enough for 90% of scenes. For interiors with sunlit windows, use 5 shots at ±2 (from -4 to +4).
Vary the shutter speed, never the aperture: in aperture priority the AEB does this on its own (correct); in manual, make sure the bracketing changes the shutter speed. Varying the aperture would change the depth of field between shots and ruin the merge. Keep ISO fixed (at 100 if the light allows).
Tripod and burst or timer shooting: with AEB + burst, all three shots come out with one press. Handheld is possible (software aligns them), but a tripod gives cleaner merges.
Always RAW: merging works with the data depth of RAW; in JPEG you lose half the benefit.
Expose the middle shot with care: meter the overall scene and check that the -2 shot keeps the brightest highlights and the +2 opens the key shadows. If not, shift the center (compensation) or widen to 5 shots.
Bracketing table by scene
Scene: Sunset with foreground; Shots: 3; Spacing: ±2 EV; Typical center setting: f/11, 1/60 s, ISO 100
Scene: Interior with sunlit windows; Shots: 5; Spacing: ±2 EV; Typical center setting: f/8, 1/15 s, ISO 100
Scene: Soft backlit landscape; Shots: 3; Spacing: ±1.3 EV; Typical center setting: f/11, 1/125 s, ISO 100
Scene: City at blue hour; Shots: 3; Spacing: ±2 EV; Typical center setting: f/8, 2 s, ISO 100
Scene: Cave/alley with sky; Shots: 5; Spacing: ±2 EV; Typical center setting: f/8, 1/30 s, ISO 200
How do I merge the shots without it looking like HDR?
Bracketing is half the work; the other half is merging without falling into the overcooked look that gave HDR a bad name.
Recommended workflow (Lightroom/Camera Raw): select the shots, "Photo Merge > HDR", turn on auto-align and deghosting at a low or medium level. The result is a wide-range DNG that you edit like any RAW: pull down highlights, raise shadows moderately, and keep local contrast reasonable.
The three rules of natural HDR:
There must still be shadows: if nothing is dark, the eye spots the trick.
No halos: if bright edges appear around mountains or rooftops, back off the slider that caused them.
Mental reference: "what I saw," not "what the software can do."
The article on photographic HDR without losing naturalness goes deeper into this restrained look, and to decide when a scene truly exceeds your sensor, the analysis of exposure in complex landscapes is the best reference.
Bracketing beyond HDR
Insurance for one-time shots: on trips or at events with tricky light, a 3-shot bracket at ±1 EV guarantees at least one perfect frame, with no intention of merging.
Manual luminosity blending: instead of automatic HDR, develop two shots and combine them with masks (sky from the dark one, ground from the bright one). More work, absolute control; it is the preferred technique of many landscape photographers.
Focus and white balance bracketing: variants of the same concept that many cameras offer; focus bracketing feeds focus stacking in macro and landscape.
Frequently asked questions
How many shots do I need: 3, 5 or 7?
Three at ±2 EV solve most outdoor scenes. Five when there are interiors with windows or contrast of 6+ stops. Seven rarely adds anything: more shots means more risk of movement between frames, not more quality.
Can I bracket without a tripod?
Yes: turn on burst so the shots come out in under a second, keep a firm holding technique, and let the software align them. Avoid it only with slow shutter speeds (slower than 1/60 s) or long focal lengths.
What happens if something moves between shots?
"Ghosts" appear: the person or leaf that moved shows up semi-transparent or duplicated. The software's deghosting fixes minor movement (water, branches); with people walking, a single well-planned exposure is better.
Does bracketing replace graduated filters?
Largely, yes: it is more flexible (it doesn't depend on a straight horizon) and requires no purchase. Graduated filters keep the advantage of solving the scene in a single shot, useful with continuous movement (waves, crowds).
The button you assign today
Bracketing turns your camera's dynamic range into a negotiable limit: three presses and no high-contrast scene ever forces you to choose between a blown sky or dead shadows again. The capture technique is learned in an afternoon; taste in merging comes with practice and restraint.
Set up your camera's AEB today and leave it assigned to a button: when the perfect sunset shows up, turning it on should take you two seconds. At Enfogram you have the 44 photography cards with the exact settings for every situation, bracketing and HDR included: print them, carry them with you and shoot with confidence.